
Cinnamon Rolls (Cinnabon Clone)
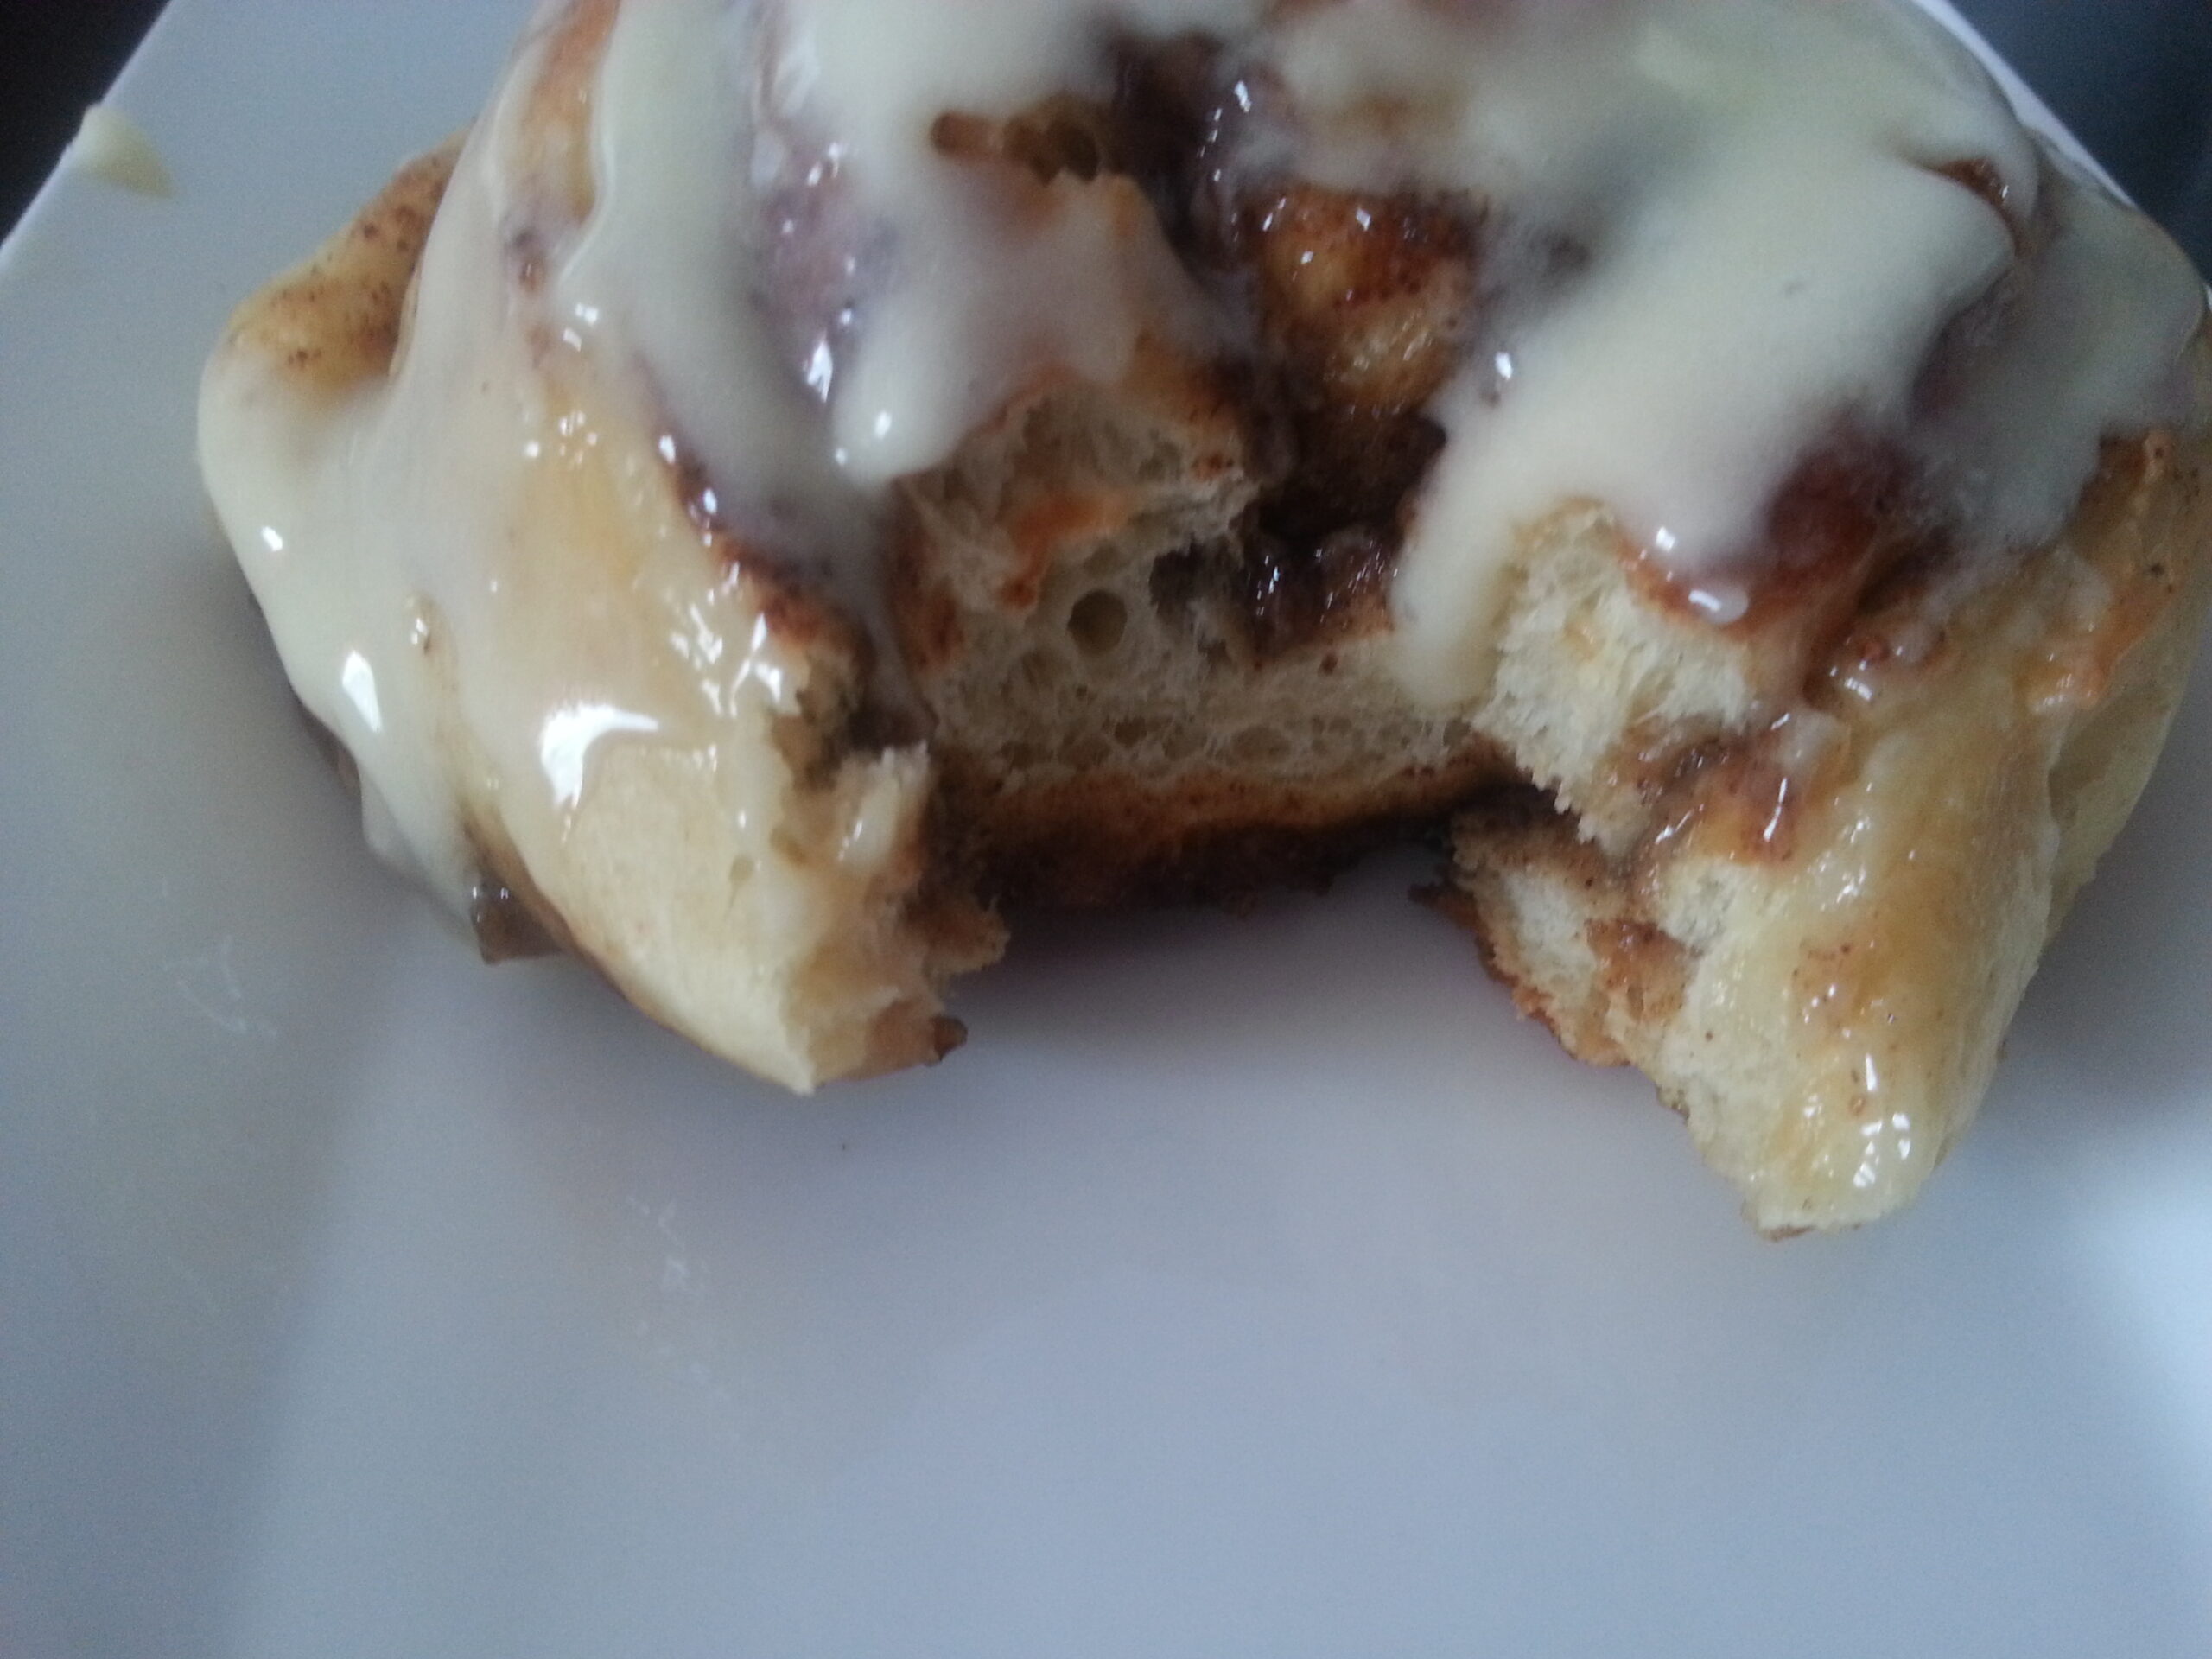
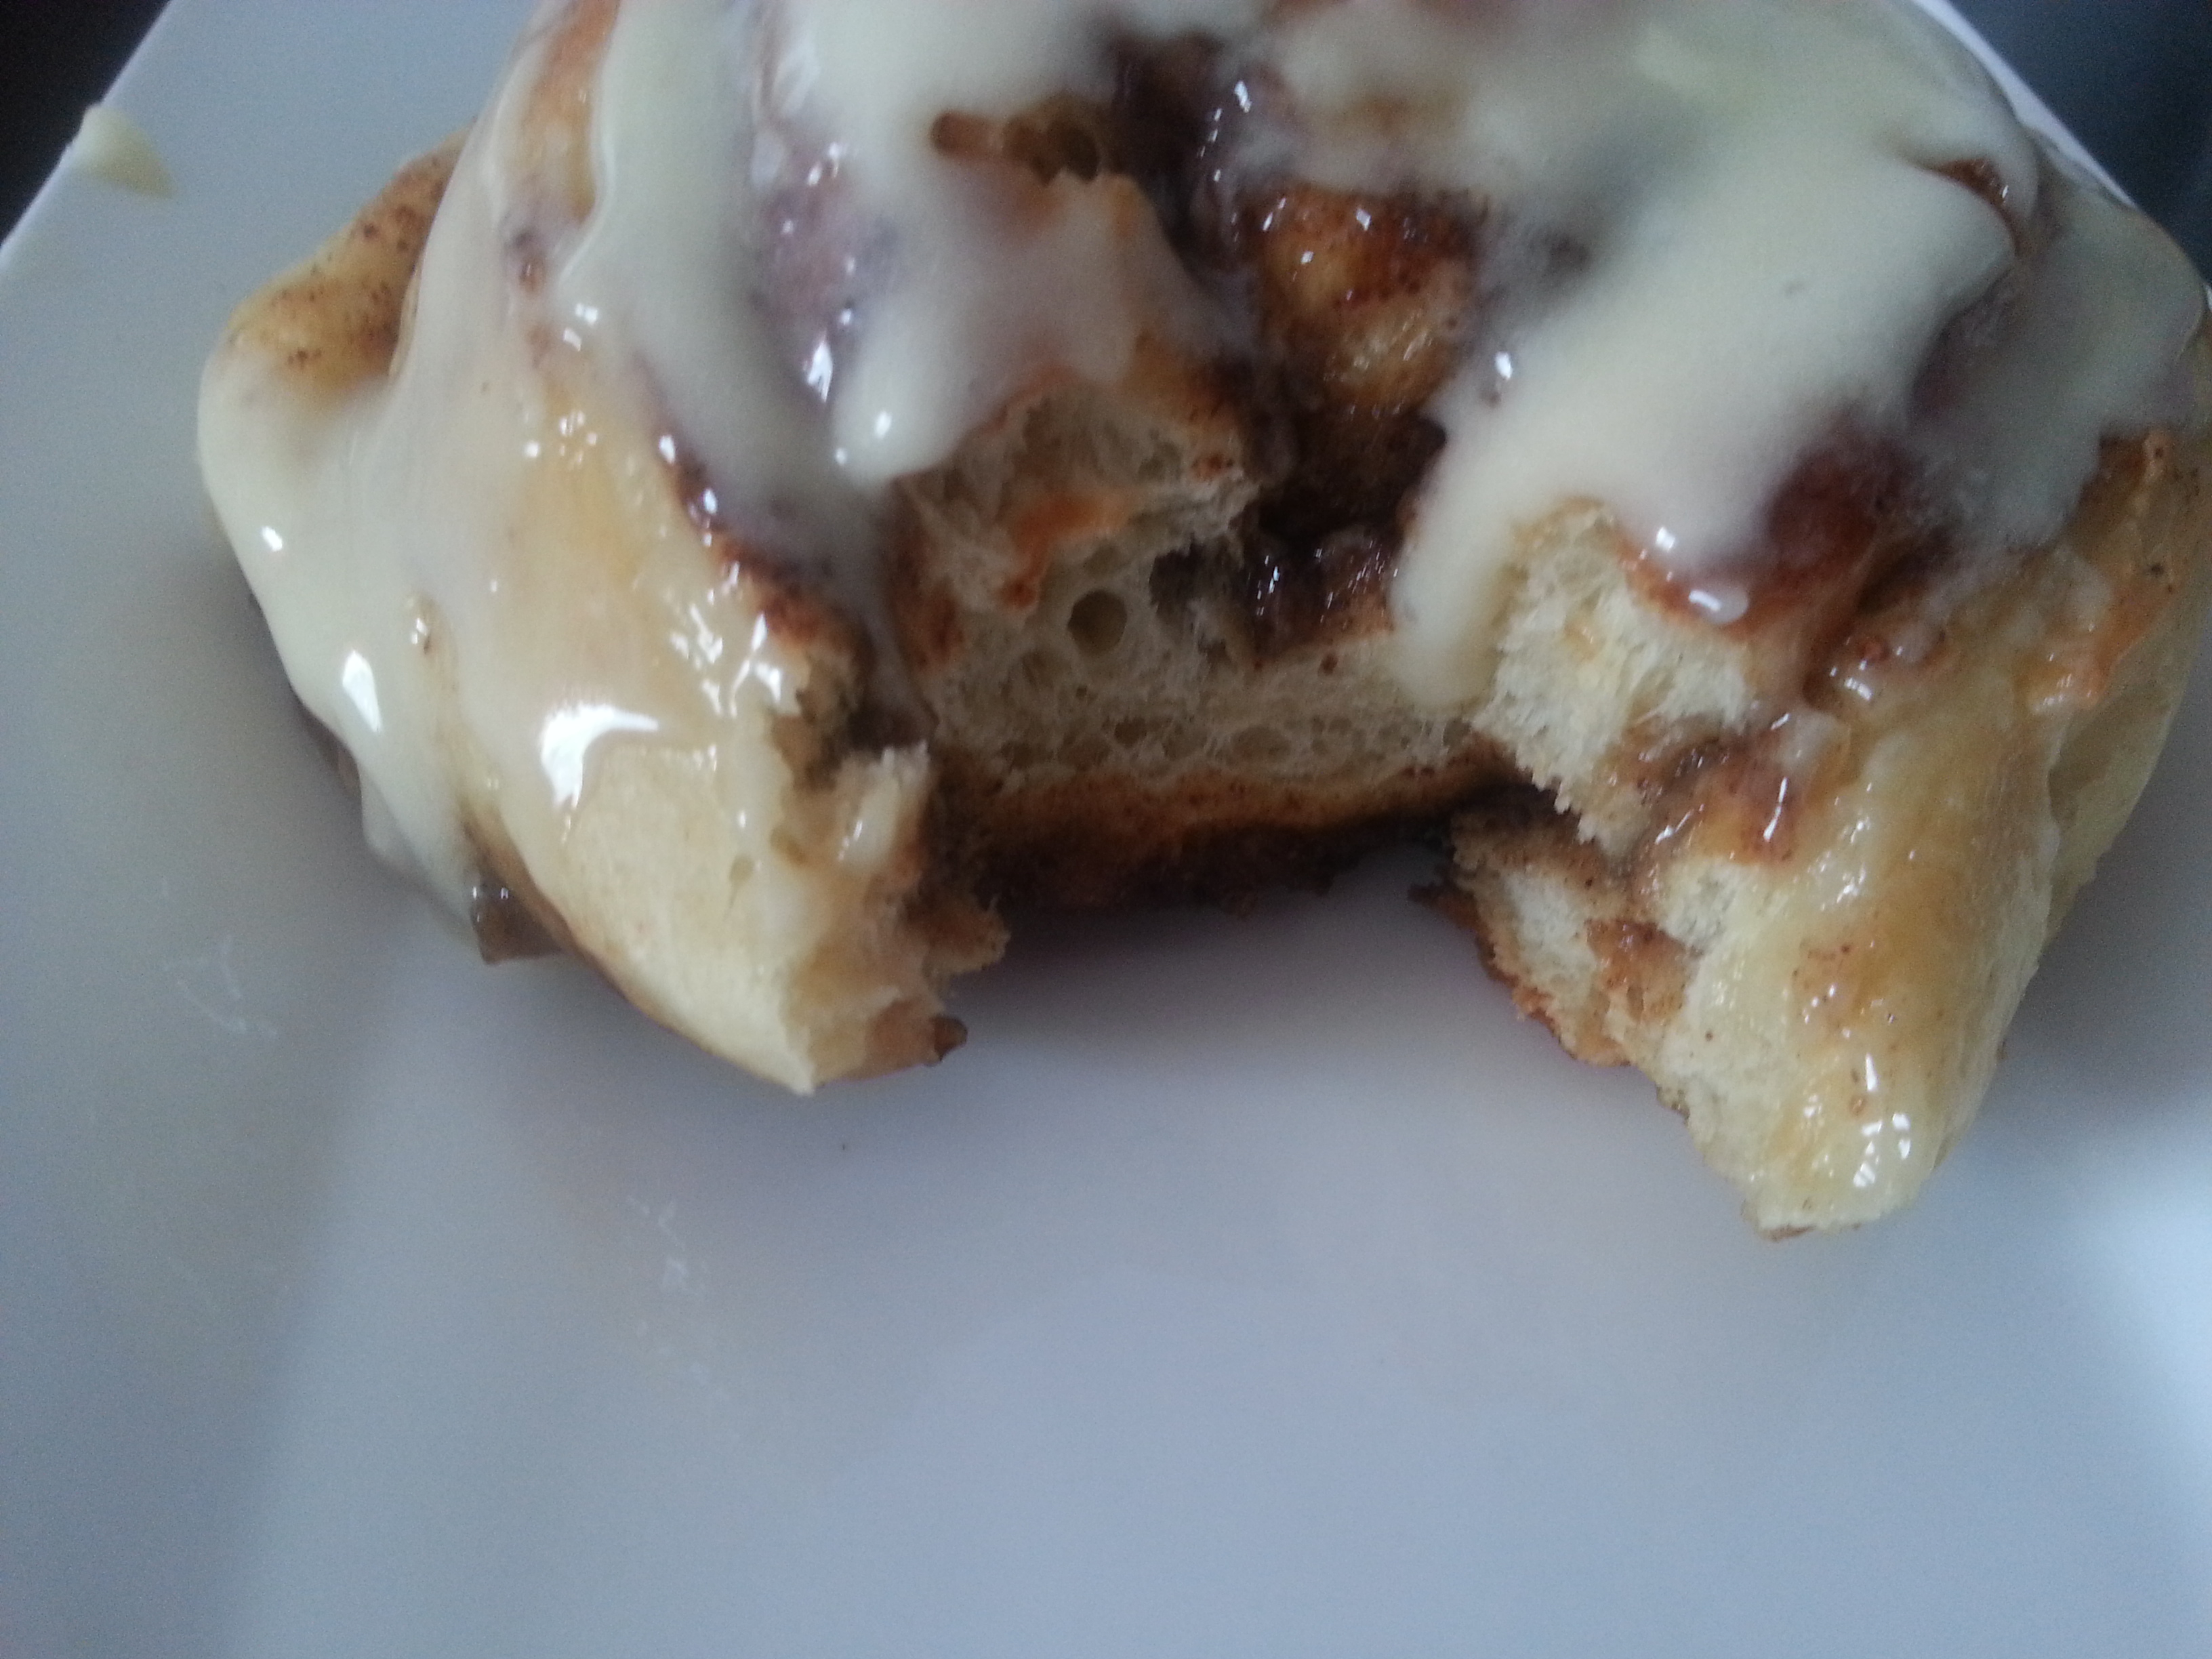
Anyone who has had a Cinnabon rolls knows how amazing those babies are. They gave me a full blown mouthgasm, and not just one. MULTIPLE ones. I had my 1st Cinnabon roll in 2013 during a visit to the US. It was lust at first sight I tell you; The stand smelled amazing and the rolls called me by name, “Wangeci” and not just Wangeci the called me “Wangeci Wandere! Wangeci Wandere!” come to us I tried to ignore them coz I was really careful with adding weight during my stay but they even knew my pet name and the minute they called me “Cici”…… oh my! I just had to go to the stand and get me one. The second I took a bite my mouth was happy, my taste bands were dancing up and down like little fairies (remember how we had to put similes in our writing? I learnt well Mrs Muyela 🙂 I took another and another and before I knew it I’d taken down two small ones. I did not even want to think about the calories I had taken in but each and every time I went to a mall I ate one and from my second visit I took the bigger size and each and every single time I had a BIG mouthgasm.
When I came back home I couldn’t stop thinking of my guilty indulgence and I just had to find a recipe that would help me relive that feeling of lust, love and guilt all in one go. I tried 2 recipes before I tried this one from Lauren’s Latest blog. They are not exactly as amazing as the cinnabon ones but they are incredibly close enough. My brother Charles loves these babies, he is ever asking for cinnamon rolls. Week in, week out so I can promise you they are really good. I did not add or remove anything so this recipe is totally hers. Do not let the time it takes full you most of the time is for proofing or letting the dough rise. It is actually pretty easy to make. Hope you will love them as much as my brother and I do.
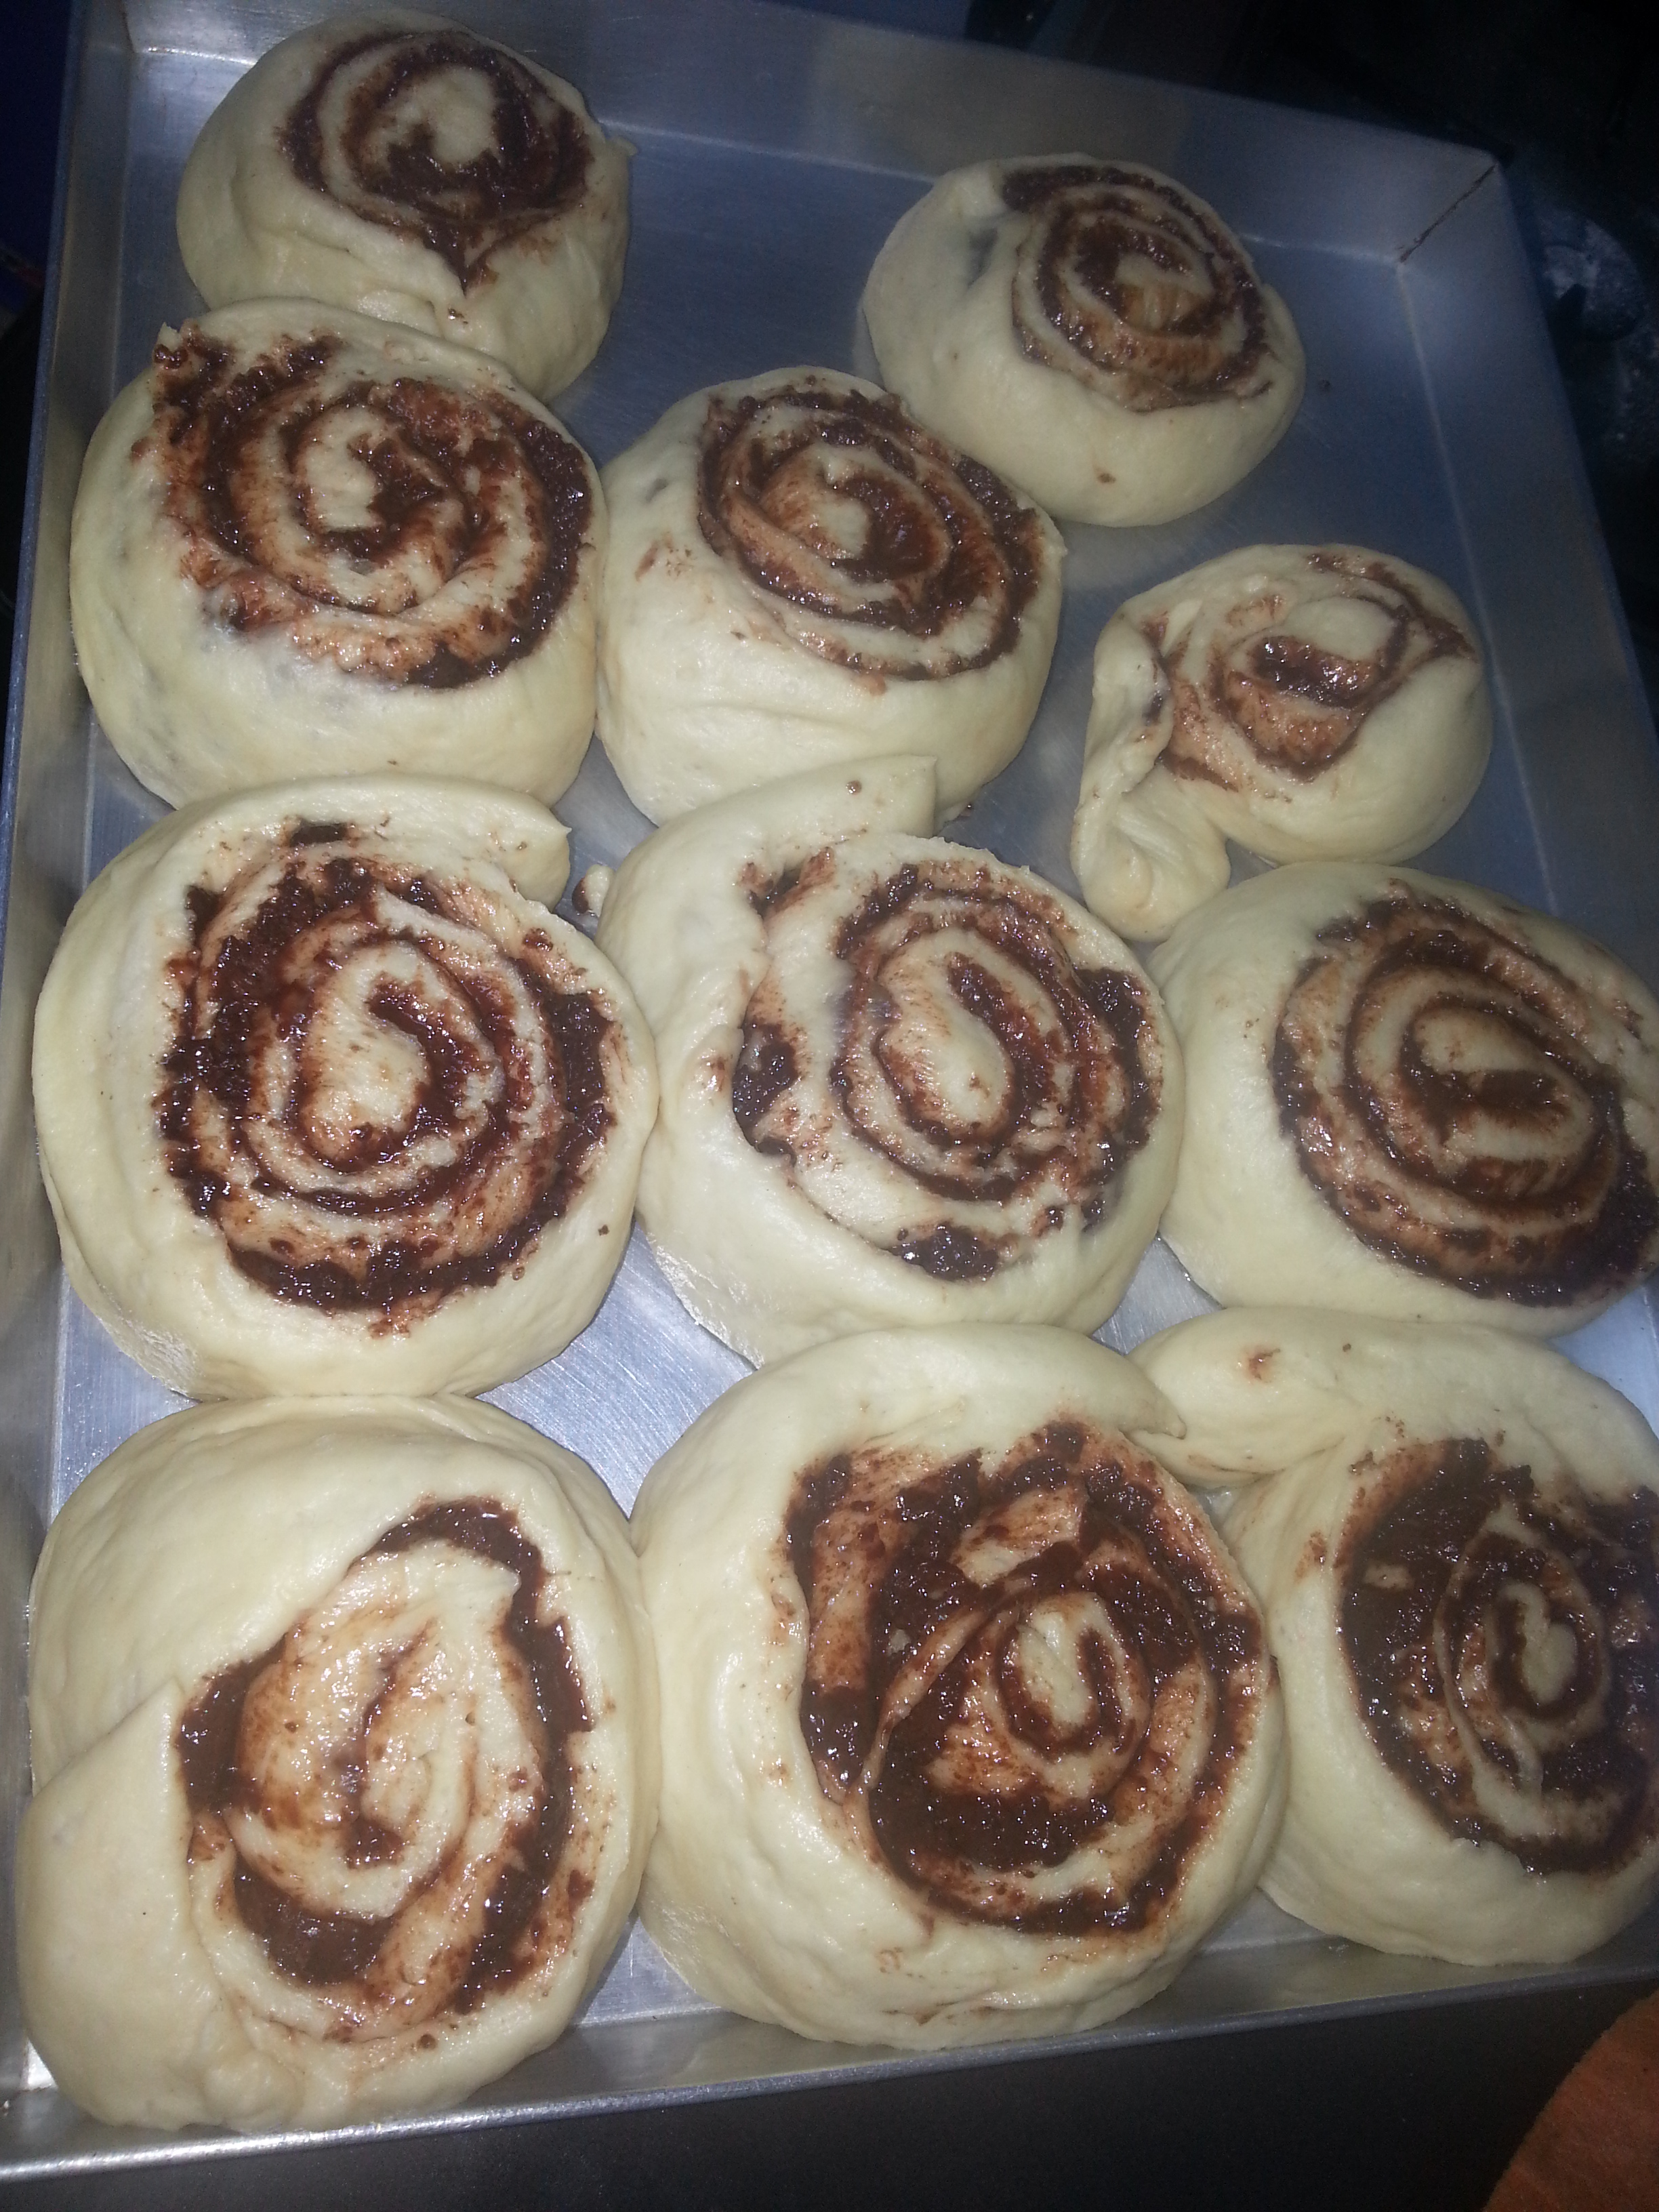
after the second rise just before hitting the oven

straight from the oven

Straight from the oven pour half the icing, it will be all gooey
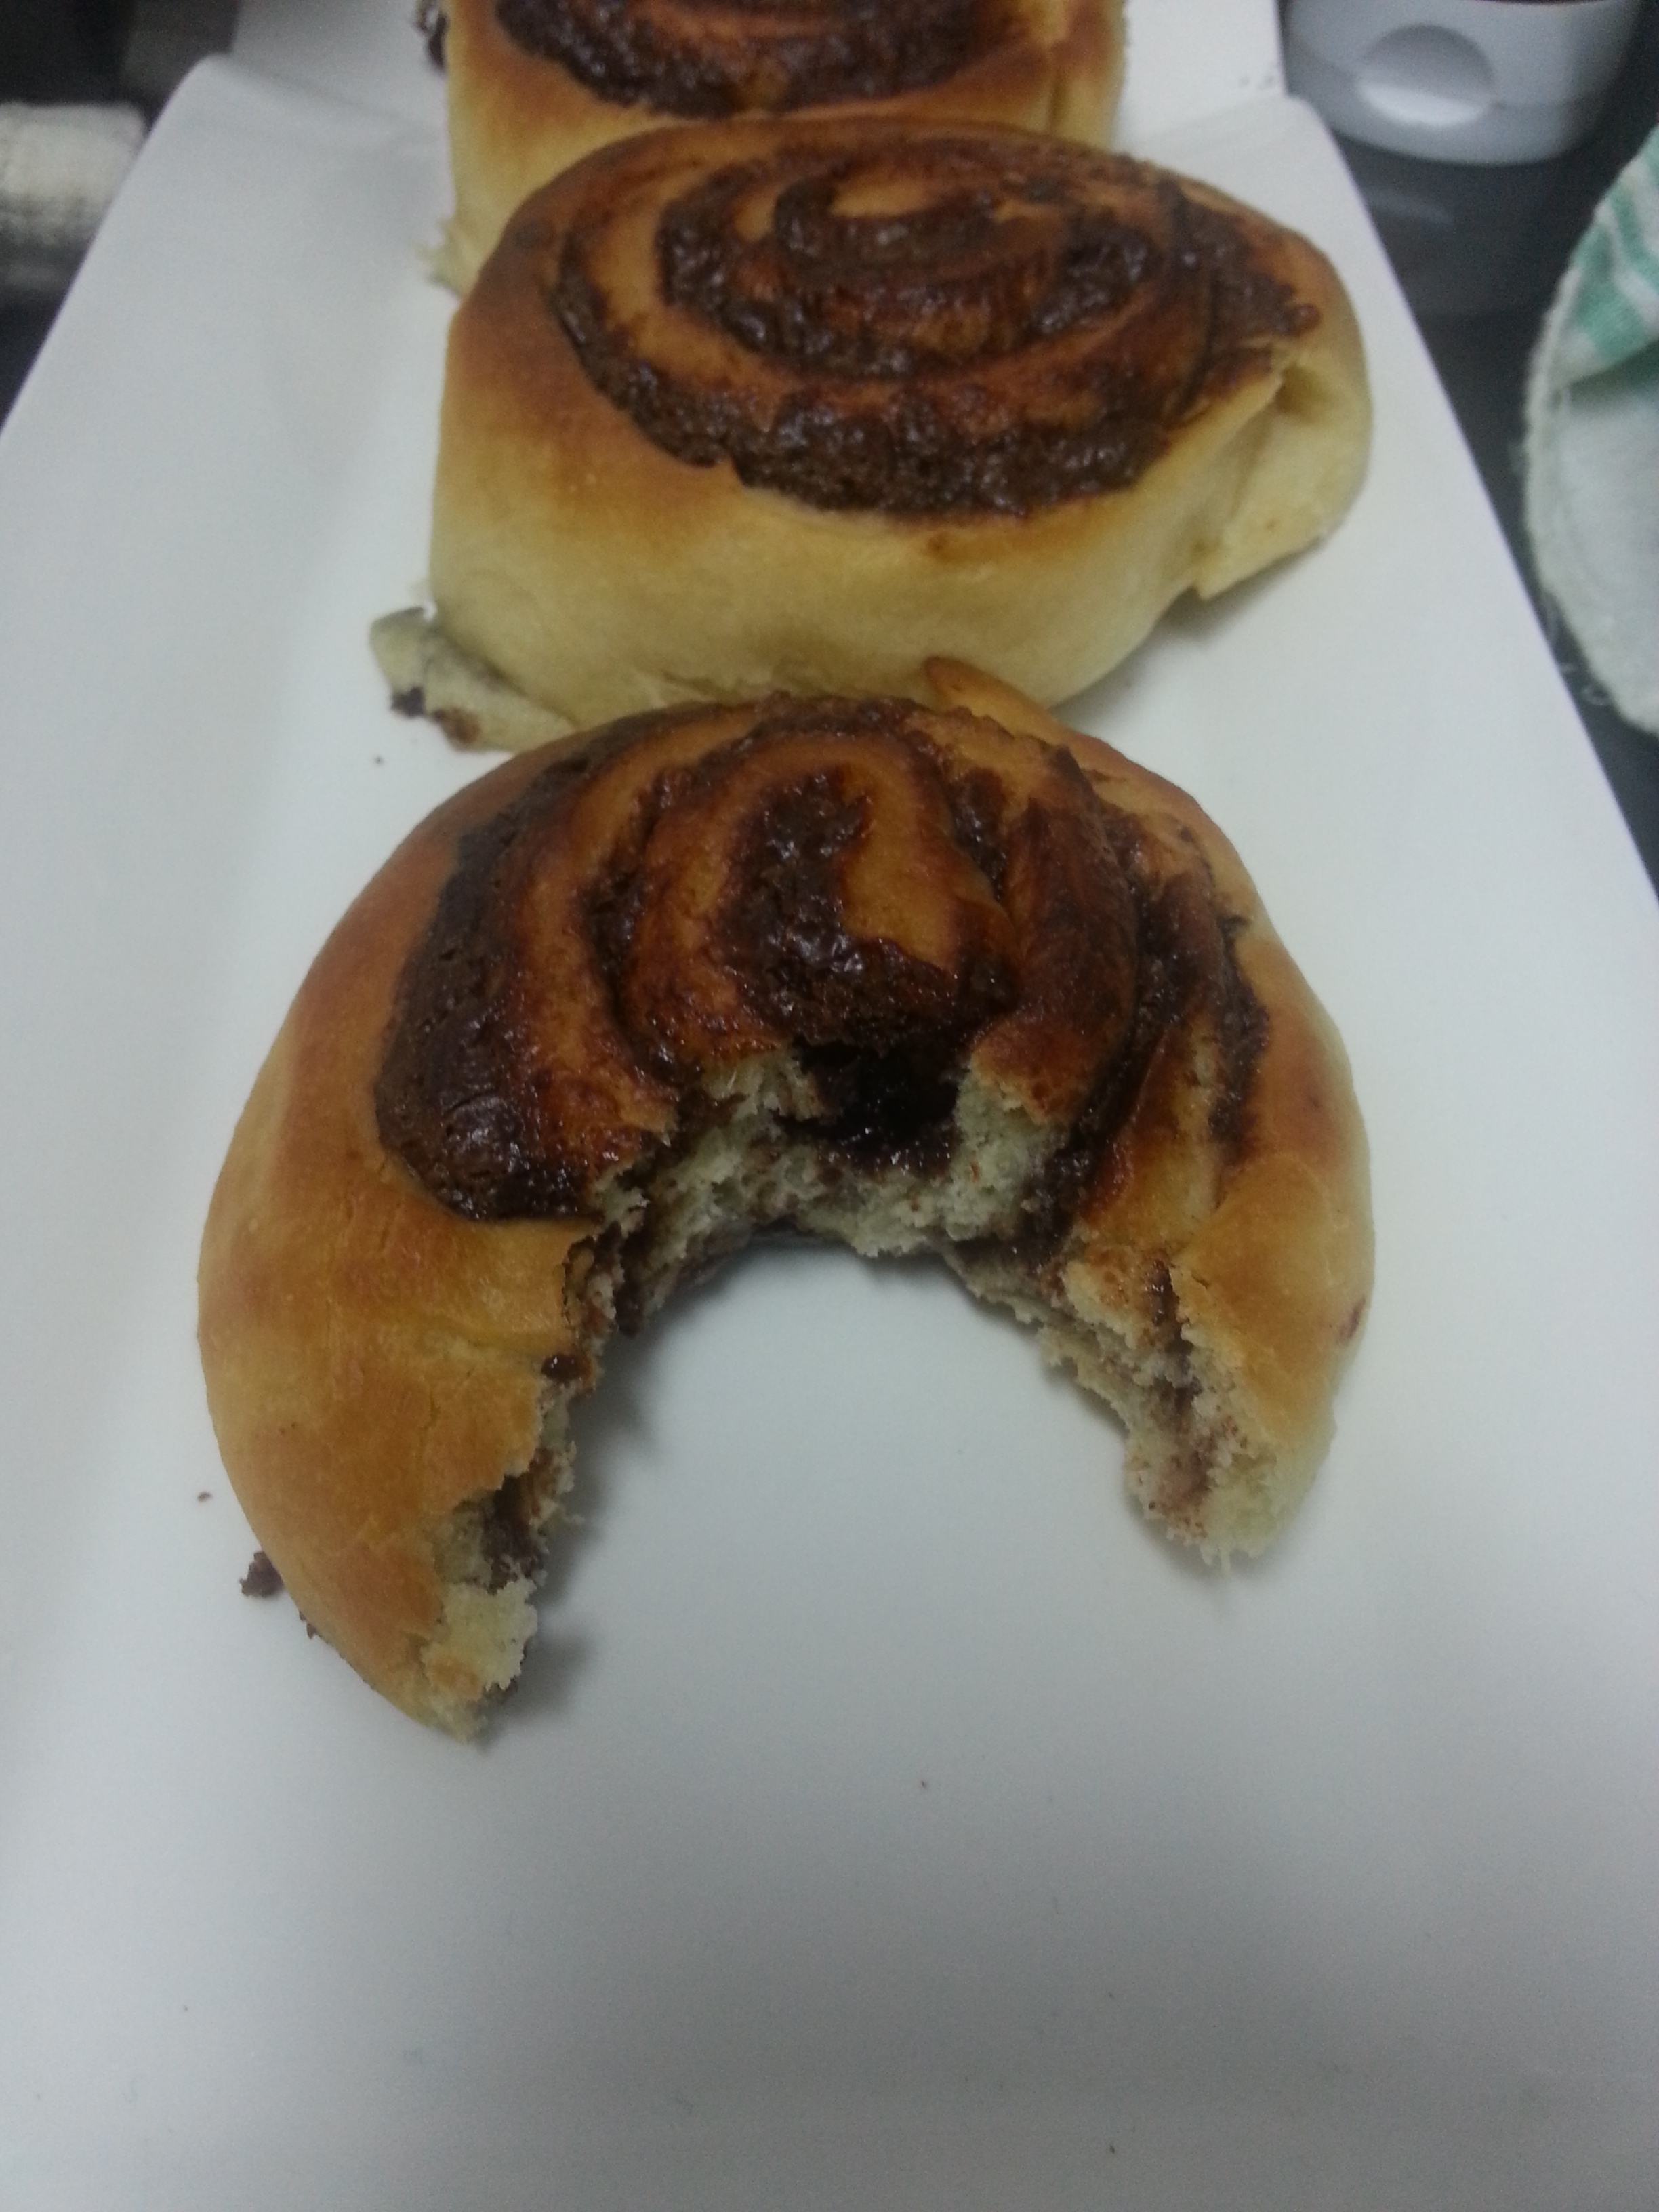
You can have them without the icing if you wish
HAPPY BAKING!!
Ingredients
- 3/4 cup warm water
- 2 1/4 teaspoons active dry yeast
- 1/2 cup sugar
- 1/2 teaspoon salt
- 1/4 cup buttermilk, at room temperature
- 1 egg
- 1/3 cup vegetable oil
- 4 1/2-5 cups all purpose flour
- 1/2 cup softened margarine
- 1 1/4 cups packed light brown sugar
- 2 1/2 tablespoons ground cinnamon
- 2 tablespoons cornstarch
- 1/2 cup cream cheese, at room temperature
- 1/4 cup softened margarine
- 1 teaspoon vanilla extract
- 1/2 tablespoon corn syrup (not mandatory but available at supermarkets you can also use glucose syrup)
- 1 teaspoon fresh lemon juice
- 1 1/4 cups powdered sugar
Instructions
In the bowl of a stand mixer fitted with a dough hook, pour in water, yeast and 1 tablespoon of the sugar. Stir and proof 5 minutes. Once mixture looks bubbly and frothy. Pour in remaining sugar and salt. Stir on low for 15-20 seconds.
In a small bowl, measure buttermilk, oil and egg. Whisk ingredients together until egg is incorporated to other two ingredients. Pour contents into the water and yeast mixture. Stir another 20 seconds in the mixer. Pour 2 cups of flour into mixer and stir on low until incorporated. Sprinkle flour in by 1/4 cup increments until dough cleans the sides and bottom of the bowl. Dough should be sticky but not sticky enough to stick to your hands when touched. Once it has reached this stage, turn mixer on and knead for 5 minutes. Remove dough from bowl, grease and replace back into same mixing bowl. Cover with plastic wrap and a dish towel. Rise 1-2 hours or until dough has doubled in size.
In a medium size bowl, stir brown sugar, cinnamon and cornstarch together until combined. Set aside.
Punch down dough. Flour a large clean table liberally with flour. Lightly flour dough as well. Roll dough out to be a 20x30 in rectangle {or as close to that as possible} while moving dough around to ensure it's not sticking to your work surface. If it's a little short or uneven, feel free to cut off the edges to even it all out.
Spread softened margarine over dough, being sure to go right to the edges leaving a 1-inch strip untouched on one of the longer sides of dough. Dump brown sugar mixture onto the middle of the dough and spread with your hands, creating an even layer over top of the margarine, still leaving that 1-inch strip of dough untouched. If you have any filling that falls off the sides of the dough, use a bench scraper to replace. Lightly press the sugar mixture into the margarine using a rolling pin.
Roll the dough up into a tight log, finishing with the plain dough on the bottom to seal the entire thing together. Cut off the uneven ends to even out the log. Score log every 2 inches and then slice your rolls using those marks. Place into parchment paper lined, margarine greased pans. 12 into a 9x13, 3 remaining into a loaf pan, or 8x8 with the small ends.
Cover pans with plastic wrap and dish towels. Let rolls rise another 1-2 hours or until they are touching and have risen almost double. My rolls always spread out more than up, so just be aware that they will most likely spread out more than up.
Bake in a preheated 350 degree for 17 minutes, or until tops start to brown. Watch them carefully!!
While the rolls are baking, whip cream cheese and margarine together. Stir in vanilla, corn syrup and lemon juice. Scrape sides and mix again. Pour in powdered sugar and stir slowly until it starts to incorporate. Then mix on high for 5 minutes or until frosting starts to lighten in color. Scrape sides and mix again briefly.
Once rolls have been removed from the oven, frost using half the amount made. Then after they have cooled a few more minutes, frost again with remaining frosting. The first frosting will melt down into the rolls and the second layer should stay put. Serve warm.
https://www.themothershipvillage.com/cinnamon-rolls-cinnabon-clone/How To: Upcycle your Grater

I love upcycling, The ideas out there on the internet are amazing. People can be so darn creative with simple stuff. Like Cans; you know the tomato cans or coconut milk cans the number of things you can make with those are just too many. I will write a post of them soon. Now the grater ever wondered what to do with one that is rusty?? or just old? well then here are a few idea. All you need for most of these DIYs is the grater and paint and you are good to go.
Homemade Mosquito Trap

It is interesting how versatile food is, how much we can make just from our kitchen, we can use food not only for nutrition but for medicinal value, for sanitary reason and even for beauty.When I first saw this tutorial I was excited I just had to try it. Unfortunately the photos I took then got lost when I lost my hard disk and lost FOUR YEARS of work . Yes I died little.
Anyway you just have to try this, especially now when our homes seem to be breeding ground for mosquitoes, or is it just my house. It is so depressing when i open the wardrobes they come flying out like children who had the bell at 4pm and its home time, they are even in the drawers they are sooo annoying.
How this thing works is by attracting mosquitoes to the bottle using Co2 and moisture, which is what attracts mosquitoes to humans. It is quite easy to make a bit time consuming but worth it in the end. Let me know how you go
Bissous
Equipment
- Empty 2 liter bottle
- Ruler
- Permanent marker
- Utility knife or sharp scissors
- 1 cup Water
- 2 cups cool water
- 1 cup of white sugar
- Thermometer, preferably an instant read or candy thermometer
- Dry active yeast
- Black plastic shopping bag
Directions
Bottle


Take a 2 liter soda bottle. Cut off the top right below where it starts to narrow for the top, invert and place inside the lower half.
Sugar SyrupBring 1 cup of the water to a boil. Dissolve the sugar into the boiling water.Once the sugar is dissolved completely, remove the pan from the heat. Stir in 2 cups cool water, stir well.
- Check the temperature of the syrup to make sure it is no hotter than 90 degrees F, if hotter, let cool to 90 degrees F (if you use your fingers to measure the temp it should be luke warm, not cool on your finger and yet not really warm IF it is hot it will kill the yeast) , add 1 tsp. active dry yeast, no need to mix. Put syrup in the bottom part of the bottle, using the cut off neck piece, leave in place.
- Seal the two parts of the bottle with the tape. The fermenting yeast will release carbon dioxide. Put black paper around the bottle since mosquitoes like dark places and carbon dioxide. This mosquito trap will then start working.

TIPS: Put the trap in a dark and humid place for 2 weeks, you’ll see the effect. You’ll have to replace the sugar water + yeast solution every 2 weeks.
Do post pictures on our Facebook page when you do make it.
adapted from Thrifty Fun and Hubpages

